Laser Alarm System
Check out for intruders. Or your noisy kids. Or both.
Author: Ștefan Adrian Brai
GitHub Project Link: https://github.com/UPB-PMRust-Students/proiect-StefanBrai
Description
This project implements a security system where a continuous laser beam is emitted toward a photo-sensor. If the beam is interrupted, the system sounds an alarm and pushes a notification to the user’s phone via the Pico W’s Wi-Fi module. A manual button allows arming and disarming the system. The most recent intrusions will be stored in a database with their timestamps
Motivation
The goal of the project is to develop an affordable and easy-to-implement security solution using low-cost components and the Raspberry Pi Pico W platform, which provides integrated Wi‑Fi connectivity for real-time notifications.
Architecture
The system is divided into four logical modules:
- Laser Module (emitter + sensor)
- Control Unit (Raspberry Pi Pico W firmware)
- User Interface (buzzer + push-button)
- Network Service (cloud notification endpoint)
+----------------+          +----------------+
|   Laser        |          | Notification   |
| emitter+sensor |          | Service (Wi-Fi)|
+----------------+          +----------------+
        ^                       ^
        v                       |
+----------------+             |
| Raspberry Pi   |-------------+
| Pico W         |
+----------------+
  |            ^
  v            |
+--------+  +--------+
| Buzzer |  | Button |
+--------+  +--------+

Log
Week 5 - 11 May
I got started with the Pico setup and became accustomed to wiring the components to the board itself. I ran into difficulties connecting the debugger Pico, so I activated USB logging for my development needs.
I started writing the main logic of the program. I tested each component individually through code and then built a broader program that encapsulates the LDR reading and buzzer trigger.
Week 12 - 18 May
I assembled most of the pieces and further developed the logic for the laser–LDR calibration period. I also began developing the Wi-Fi setup and email-sending feature.
Week 19 - 25 May
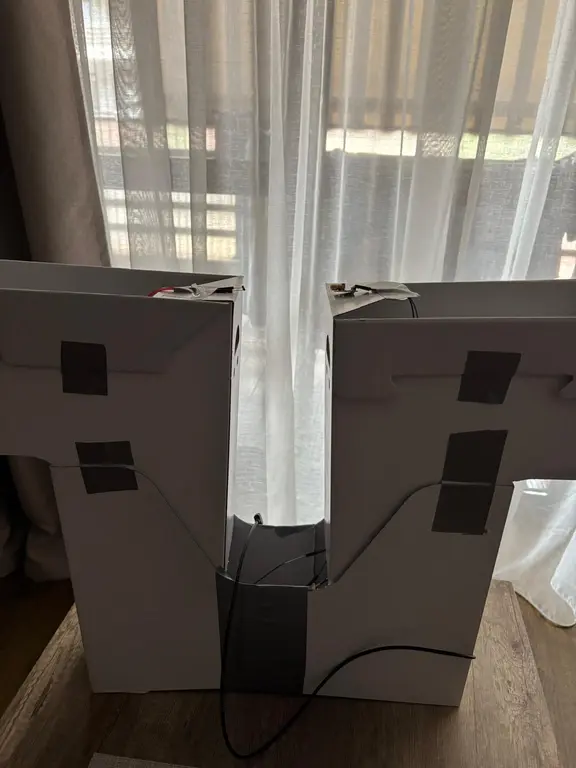
The email functionality was more of a challenge than i anticipated , so i resumed myself to using a tcp connection on port 80 to send logs on a http html page. Also tried to add an I2C screen in my project, but it interfeered with something in the program and with the port 80 connection, so i unfortunately dropped the idea.Finished the Documentation and assembled the mockup gate.
Hardware
We use off-the-shelf components mounted on a breadboard and powered by a 5 V supply. The main utilities are the button, the passive buzzer which will be configured to emit a custom tune, the laser which will just be controlled by the button and the photoresistor which checks the laser output.


Schematics

Bill of Materials
| Device | Usage | Price (RON) |
|---|---|---|
| Raspberry Pi Pico W | Microcontroller with integrated Wi-Fi | 35 |
| 5 V Laser Diode | Laser beam emitter | 14 |
| LDR / Photoresistor | Laser-beam interruption sensor | 1.90 |
| Passive Buzzer | Audible alarm output | 1 |
| Push-Button | Manual arm/disarm control | 2 |
| Breadboard & Jumper Wires | Prototyping | 22 |
| 5 V /3.3 V Power Supply | System power | 0(came with breadboard) |
Software
This project is a laser-based intrusion detection system built on the Raspberry Pi Pico W using the async-capable Embassy framework in Rust. When enabled, it creates a Wi-Fi access point (Stefan_Pico) that hosts a local HTTP server. Users can access this server via a browser to receive real-time alerts. The system uses a laser and a photoresistor (LDR) to detect beam interruptions. When the beam is broken, it triggers a 3-phase beep via PWM and sends a timestamped alert to the connected HTTP client. A button toggles the system on/off, and a calibration phase establishes a light threshold baseline at startup.
Key features include USB logging, AP-mode networking, chunked HTTP responses, and embedded async task scheduling via embassy-executor. The implementation uses several crates such as embassy-rp for hardware abstraction, embassy-net for networking, and cyw43 for Wi-Fi control. The system is lightweight, efficient, and designed for real-time response.
| Library | Description | Usage |
|---|---|---|
| cyw43 | Wi-Fi driver for the CYW43 chipset | NetDriver, PowerManagementMode for network I/O and power modes |
| embassy-executor | Asynchronous executor for Embassy | Spawner, #[task] for spawning and running tasks |
| embassy-rp | RP2040 peripheral abstractions and utilities | • ADC: Adc, Channel, InterruptHandler (analog reads & IRQs)• GPIO: gpio::{Input, Output, Level, Pull}• PWM: pwm::Pwm, pwm::Config as PwmConfig• PIO: pio::Pio• Interrupts: bind_interrupts!, Handler trait• Peripherals: peripherals::{USB, DMA_CH2, PIO0}, usb module |
| embassy-time | Timing utilities | Duration, Timer for delays and time-based scheduling |
| embassy-usb-logger | USB‐based logging over the Embassy framework | Capture and transmit debug logs over the USB interface |
| panic-probe | Panic handler | Backtraces and panic logs over SWD |
| log | Standard Rust logging facade | info! macro for structured runtime logging |
| cyw43-pio | PIO-based SPI front-end for CYW43 Wi-Fi module | PioSpi, RM2_CLOCK_DIVIDER for bit-banged SPI over PIO |
| static-cell | Zero-overhead static allocation utility | StaticCell for safe, statically allocated variables |
| embassy-net | Embedded-ready network stack | Config as NetConfig, Stack, StackResources for IP-stack setup and resource allocation |
embedded-io-async | Async traits for I/O like Read and Write | Used with sockets for non-blocking I/O |
heapless | Stack-allocated data structures | String, Vec used for HTTP responses and logging without heap |
core | #![no_std] system-level Rust API | Used implicitly; provides types like Option, Result, Write, etc. |
Functional Diagram for the Software
