Crasher game
Time your bet before the airplane crashes.
Author: PRODAN Florin Mihai Alexandru
GitHub Project Link: https://github.com/UPB-FILS-MA/project-mihaiprodann
Description
"Crasher" is an engaging online game featuring an airplane that ascends on the screen while a multiplier increases. Players are challenged to decide the optimal moment to cash out their bet before the airplane crashes, abruptly stopping the multiplier.
Motivation
This project was inspired by my past experiences with gambling, particularly one that combined elements of risk and strategy in a simple yet engaging format. As part of a project requirement, I decided to bring this game into a tangible form using the Raspberry Pi Pico W and other electronic components. The goal was to recreate the game's excitement and decision-making process in a new, interactive way, merging it with practical experience gained during the lab.
Architecture
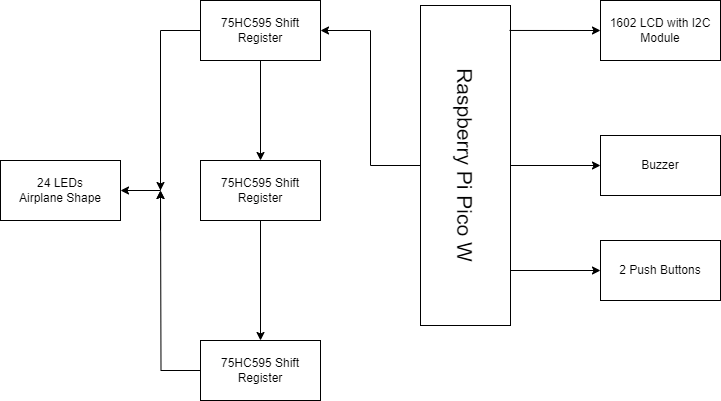
- The airplane shape will be made of LEDs connected using 75HC595 Shift Registers.
- The LCD screen will display information about game status, current money amount, etc.
- One of the buttons will start the game, the airplane will start flying.
- The other button is used to stop the game before the airplane crashes.
- With the potentiometer, you will select the amount of money you want to bet.
Log
Week 6 - 12 May
Considering that I was a complete beginner when I started the project, I decided to proceed in the following way: I tried to "play" with each individual component in order to see and better understand how they are used (see the branches in the repository), later combining them to be able to create the logic of the game more easily. At least that's what I thought.
This week I didn't manage to make much noticeable progress, but at least I realized that for my project I need shift registers for LEDs because I don't have enough ports on the Raspberry Pi Pico.
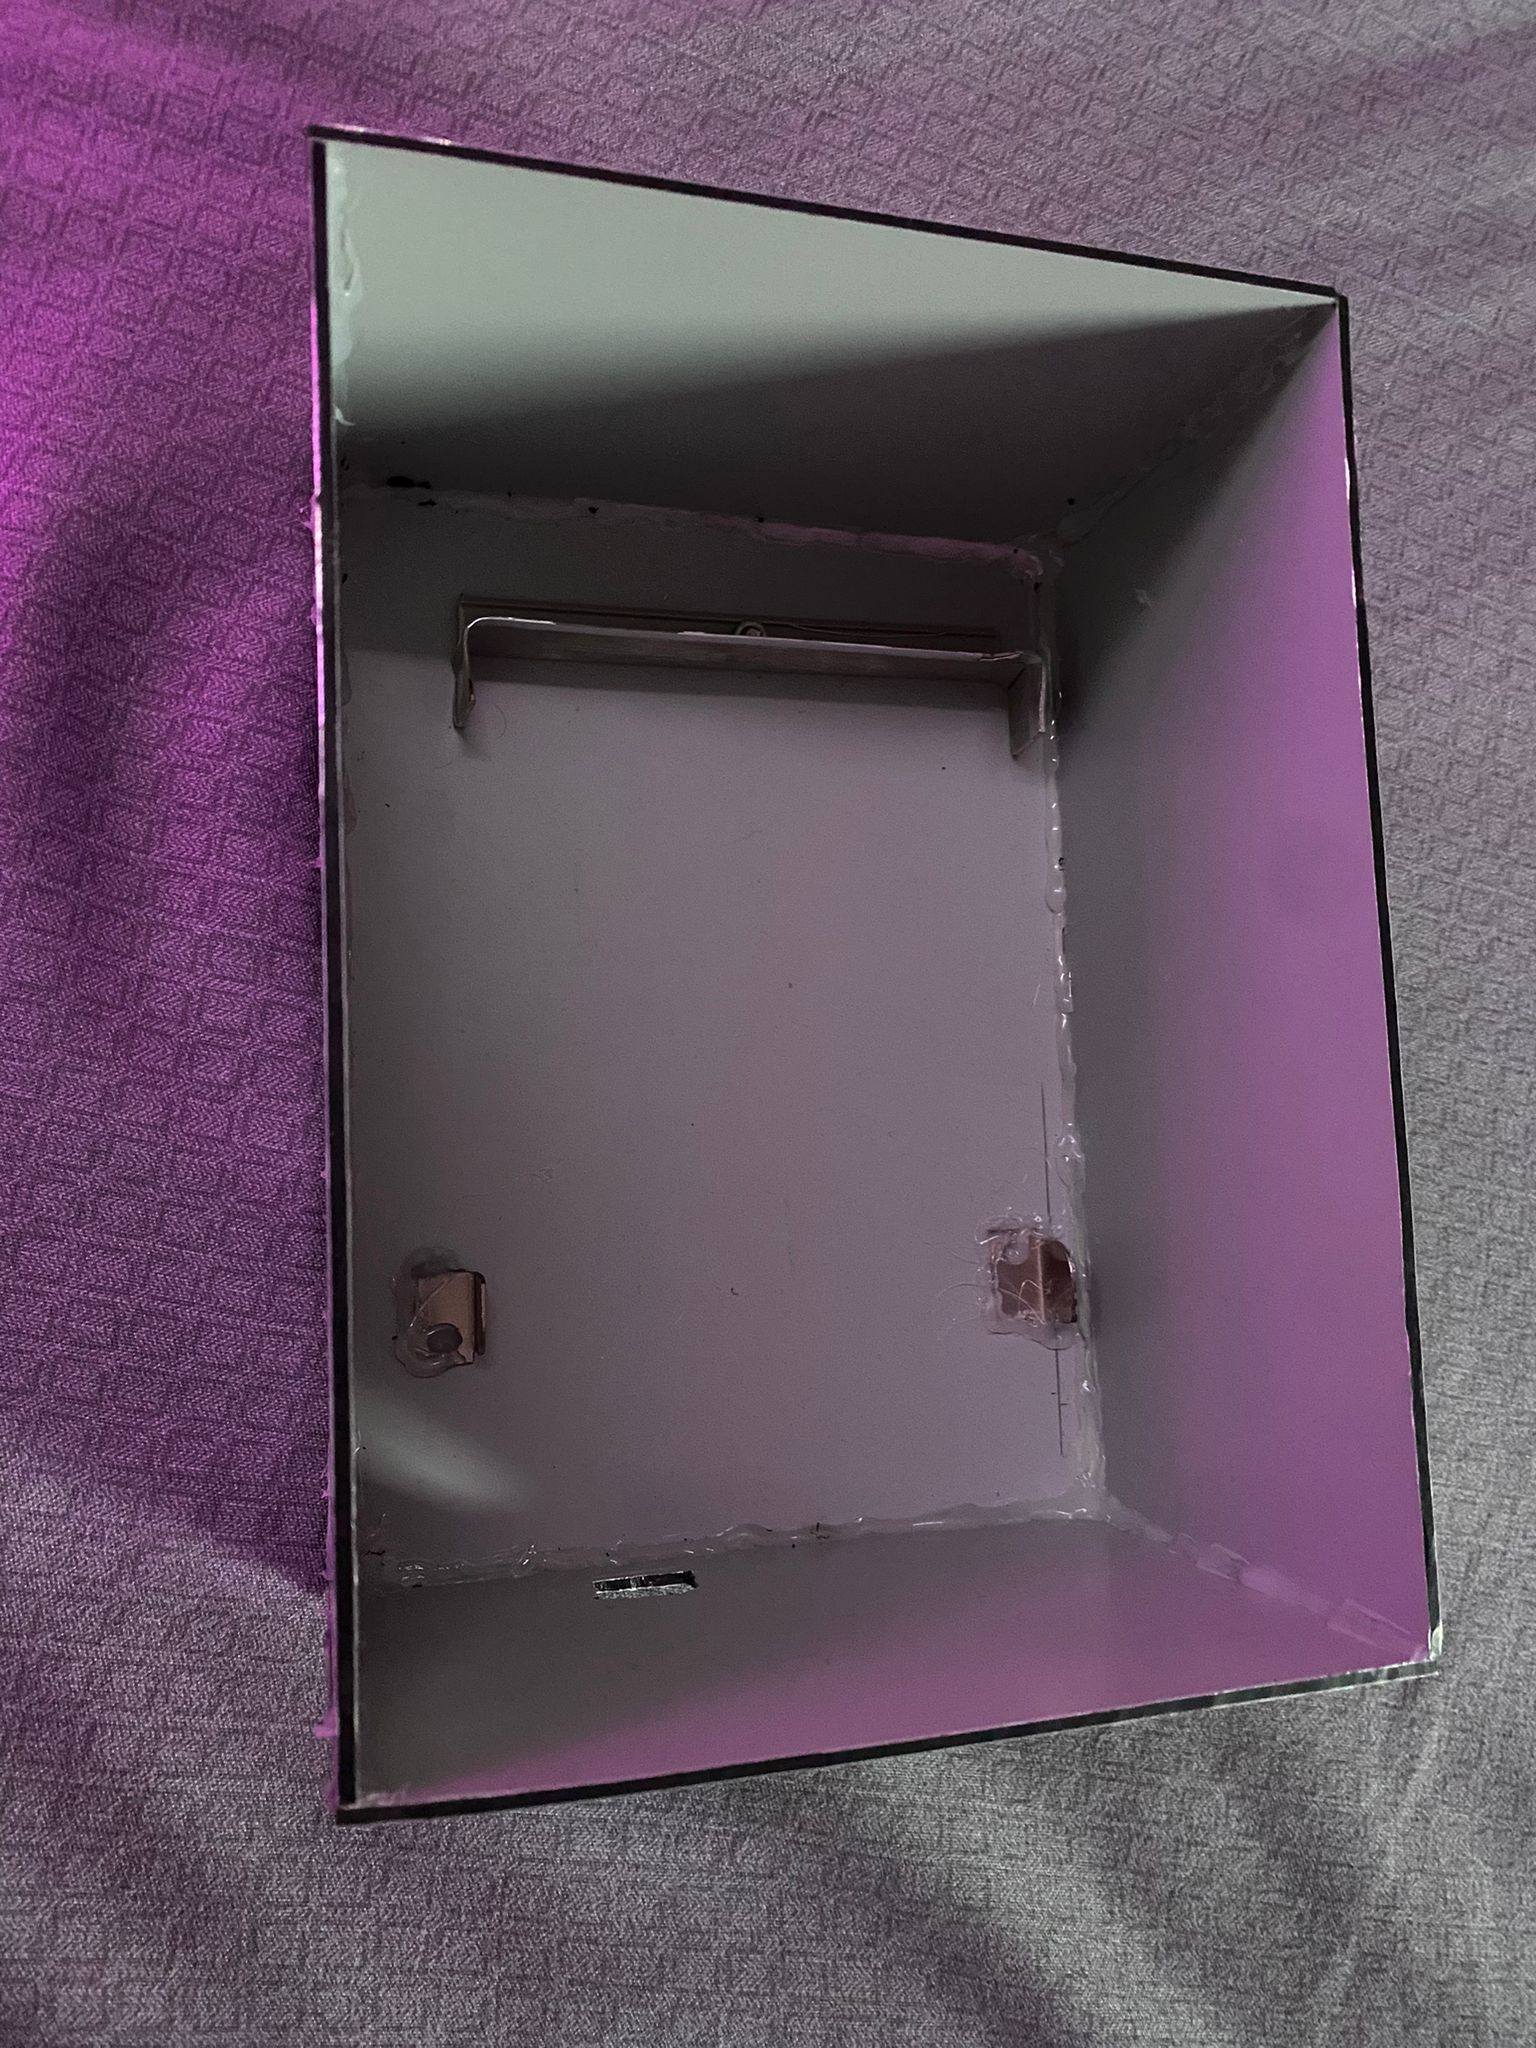
Besides that, I built a custom box for the hardware setup:
Week 7 - 19 May
I started by researching how shift registers can be used for my project, I was helped by this very well explained tutorial. Unfortunately, MicroPython was used in the tutorial, but I managed to adapt my code in Rust.
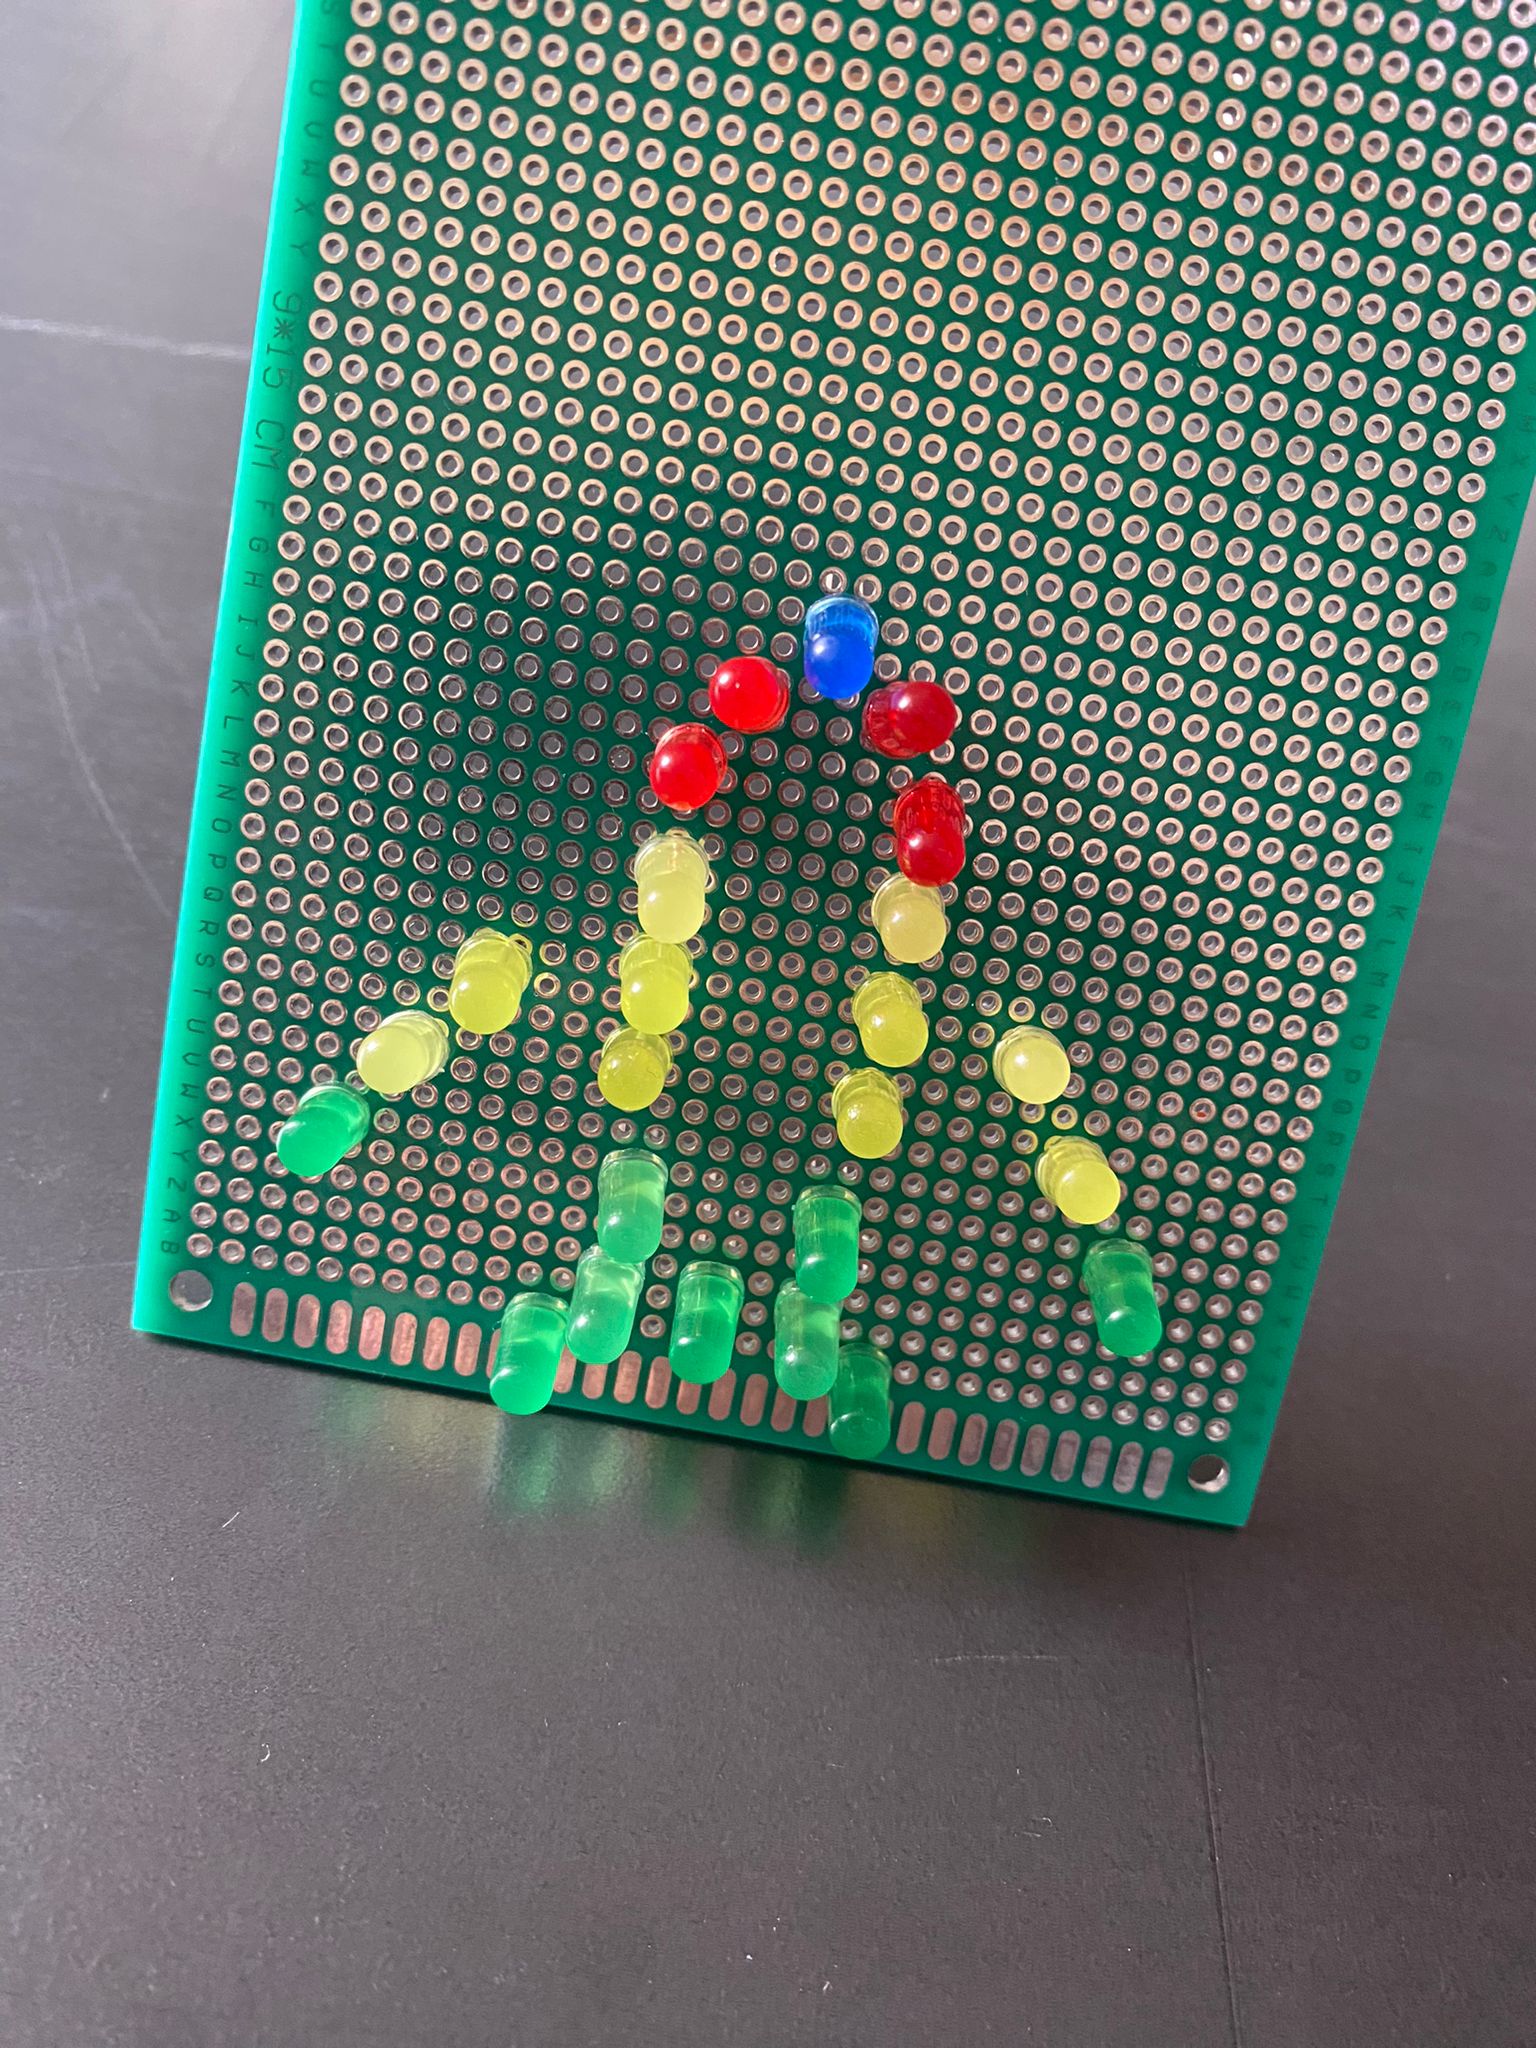
I started to add the components on the breadboard, then I will also connect the LEDs in the shape of an airplane. Initially, I thought that I could connect them with mother-father wires, but after several tests from which I realized that the light intensity of the LEDs varies because of the wires, I decided that the most ideal would be to use a PCB board where I will solder the LEDs, from which the following prototype resulted:
Week 20 - 26 May
This week I improved my code adding more functionalities: the money system and also some LED light show. I gave up on the PCB because I couldn't manage to solder it properly so I resumed to a easier solution: soldering the LEDs directly on my box:
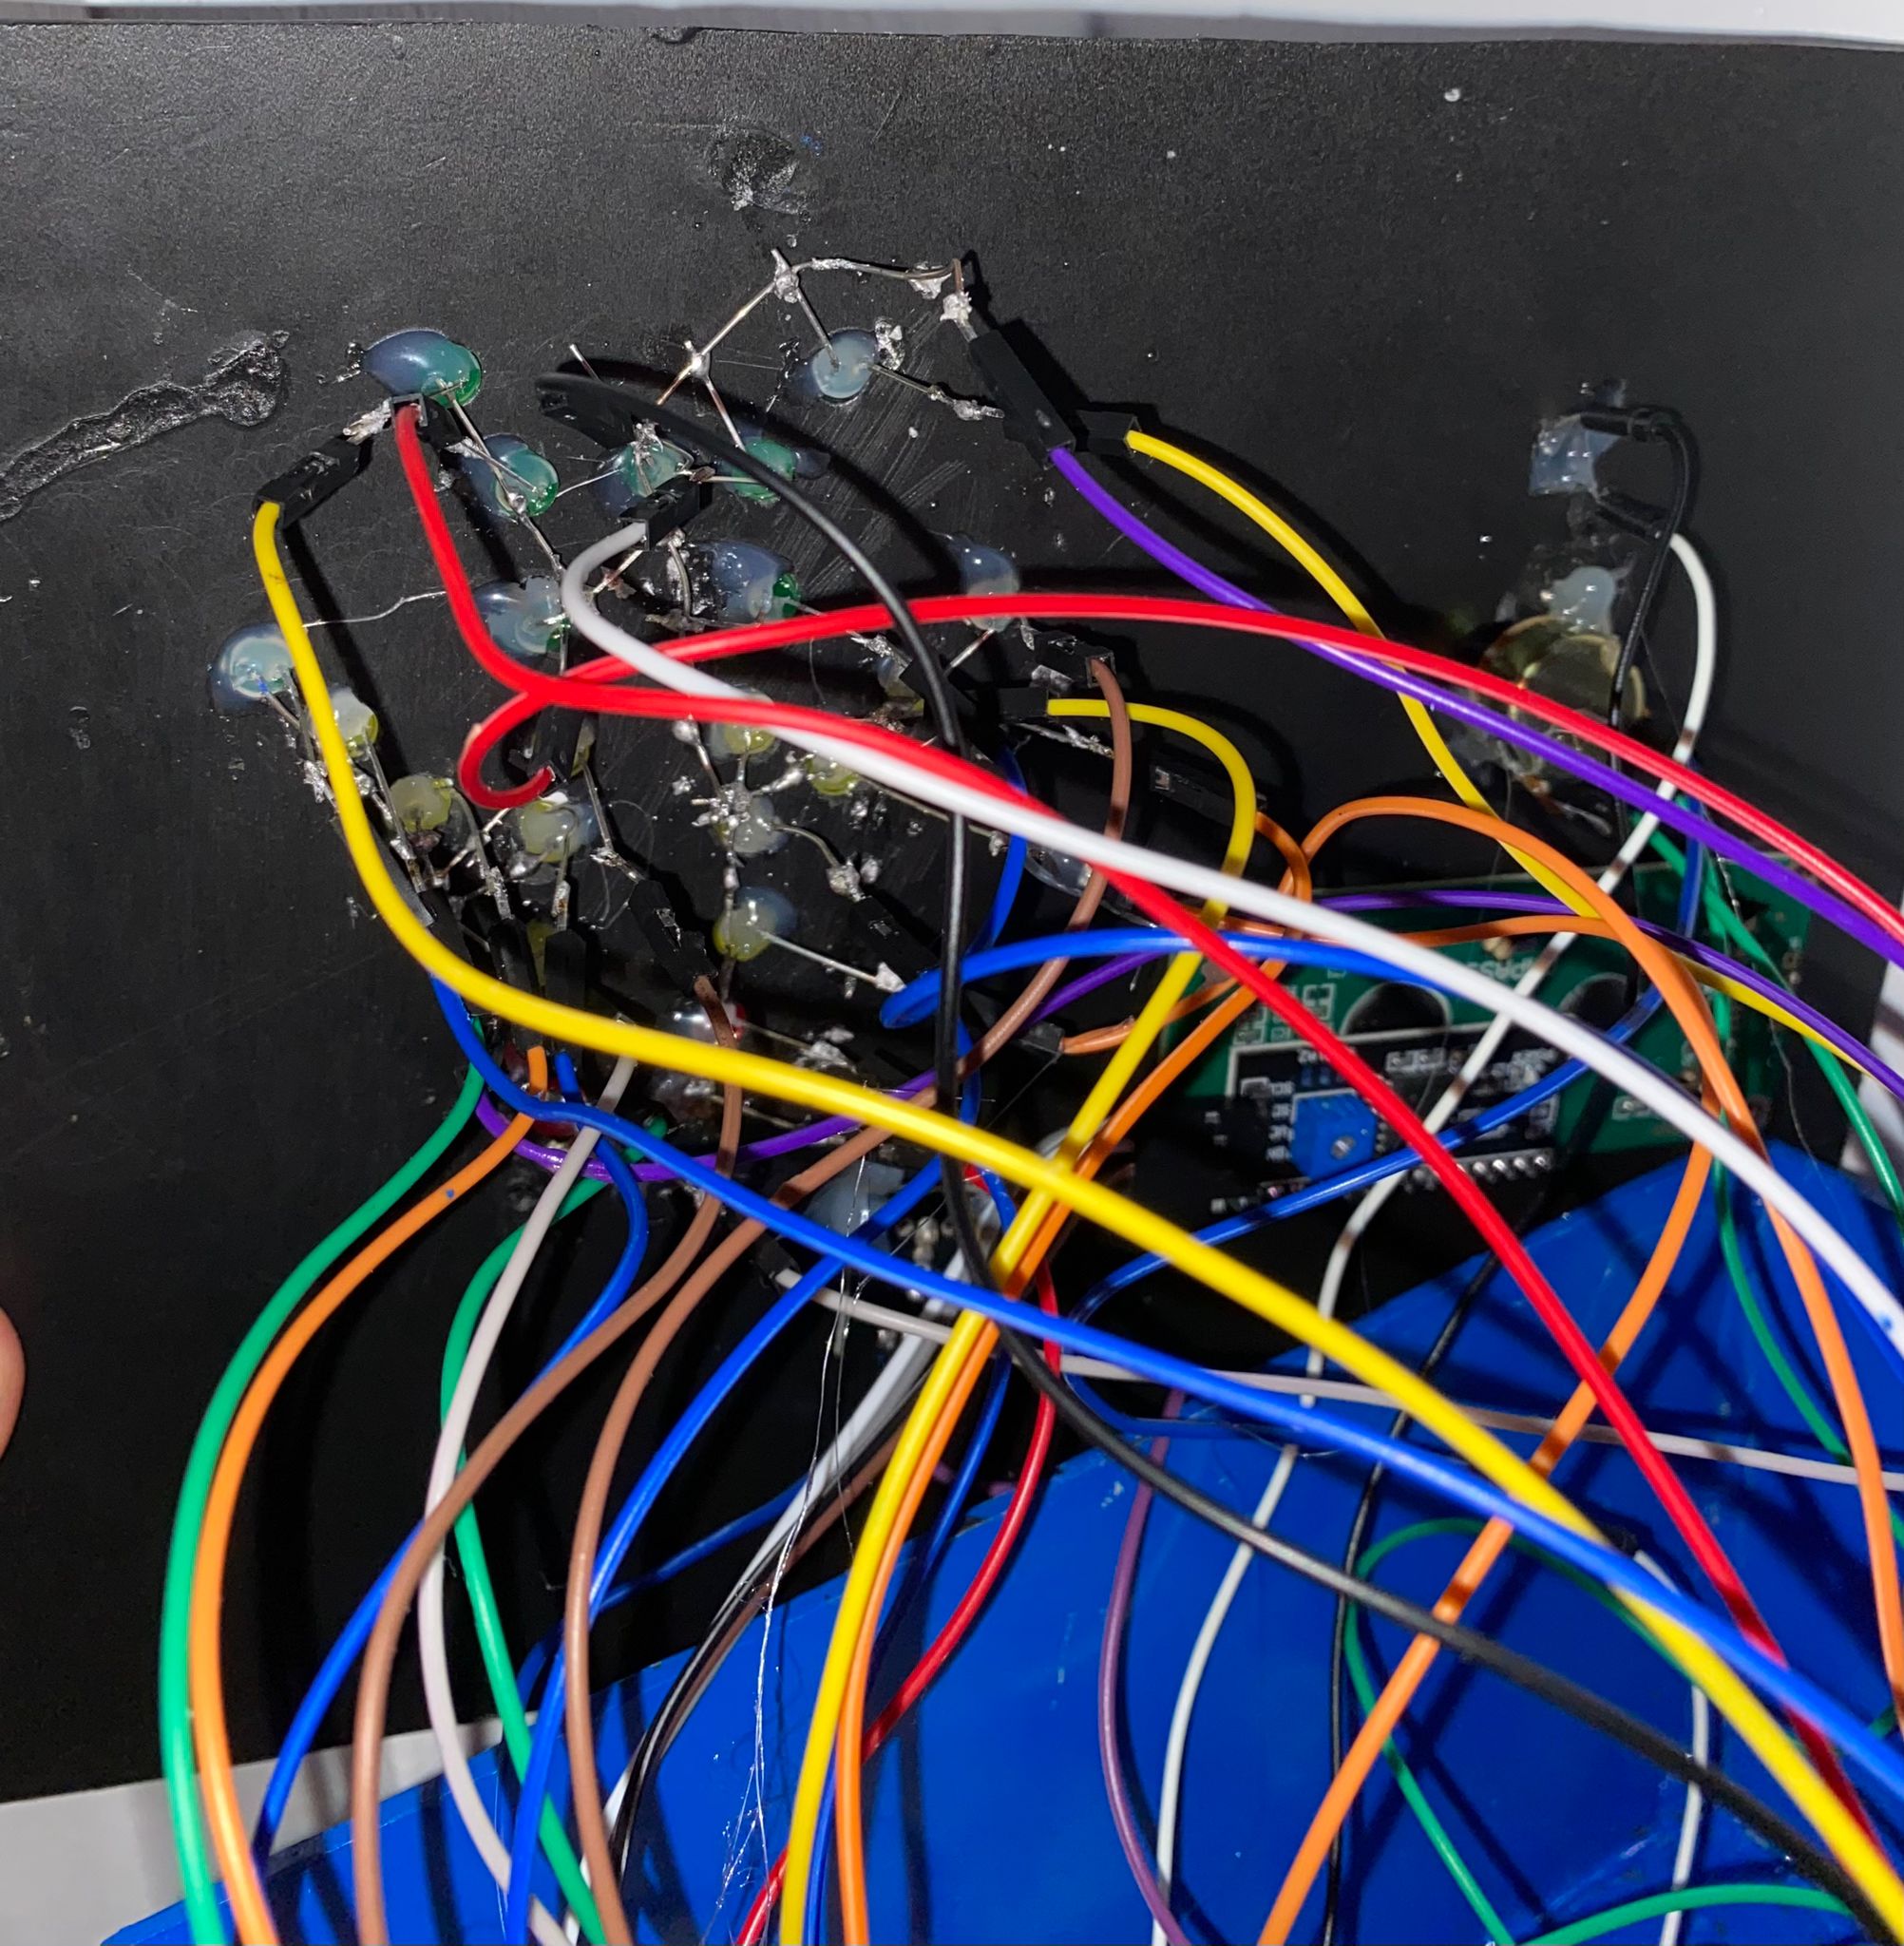 I know it looks a bit messy, but was easier to connect the LEDs in the shape of an airplane like this rather than using a PCB (also I connected all LEDs' grounds together so that I don't have to use 24 wires for the ground).
Hardware
- Raspberry Pi Pico W: Microcontroller board for running the game logic.
- LEDs: Visual indicators representing multiplier values.
- LCD 1602 module: Display for showing current odds and game information.
- Push-button switch: Trigger for starting the game.
- Potentiometer: Control for adjusting the bet amount.
- Breadboard: Platform for prototyping and connecting components.
- Jumper wires: Connectors for establishing electrical connections on the breadboard.
In the project, the Raspberry Pi Pico W runs the game logic, while LEDs visualize multiplier values, the LCD 1602 module displays game information, the push-button switch triggers the game, and the potentiometer adjusts the bet amount. These components are connected using a breadboard and jumper wires for prototyping and experimentation.
Here is my hardware setup:
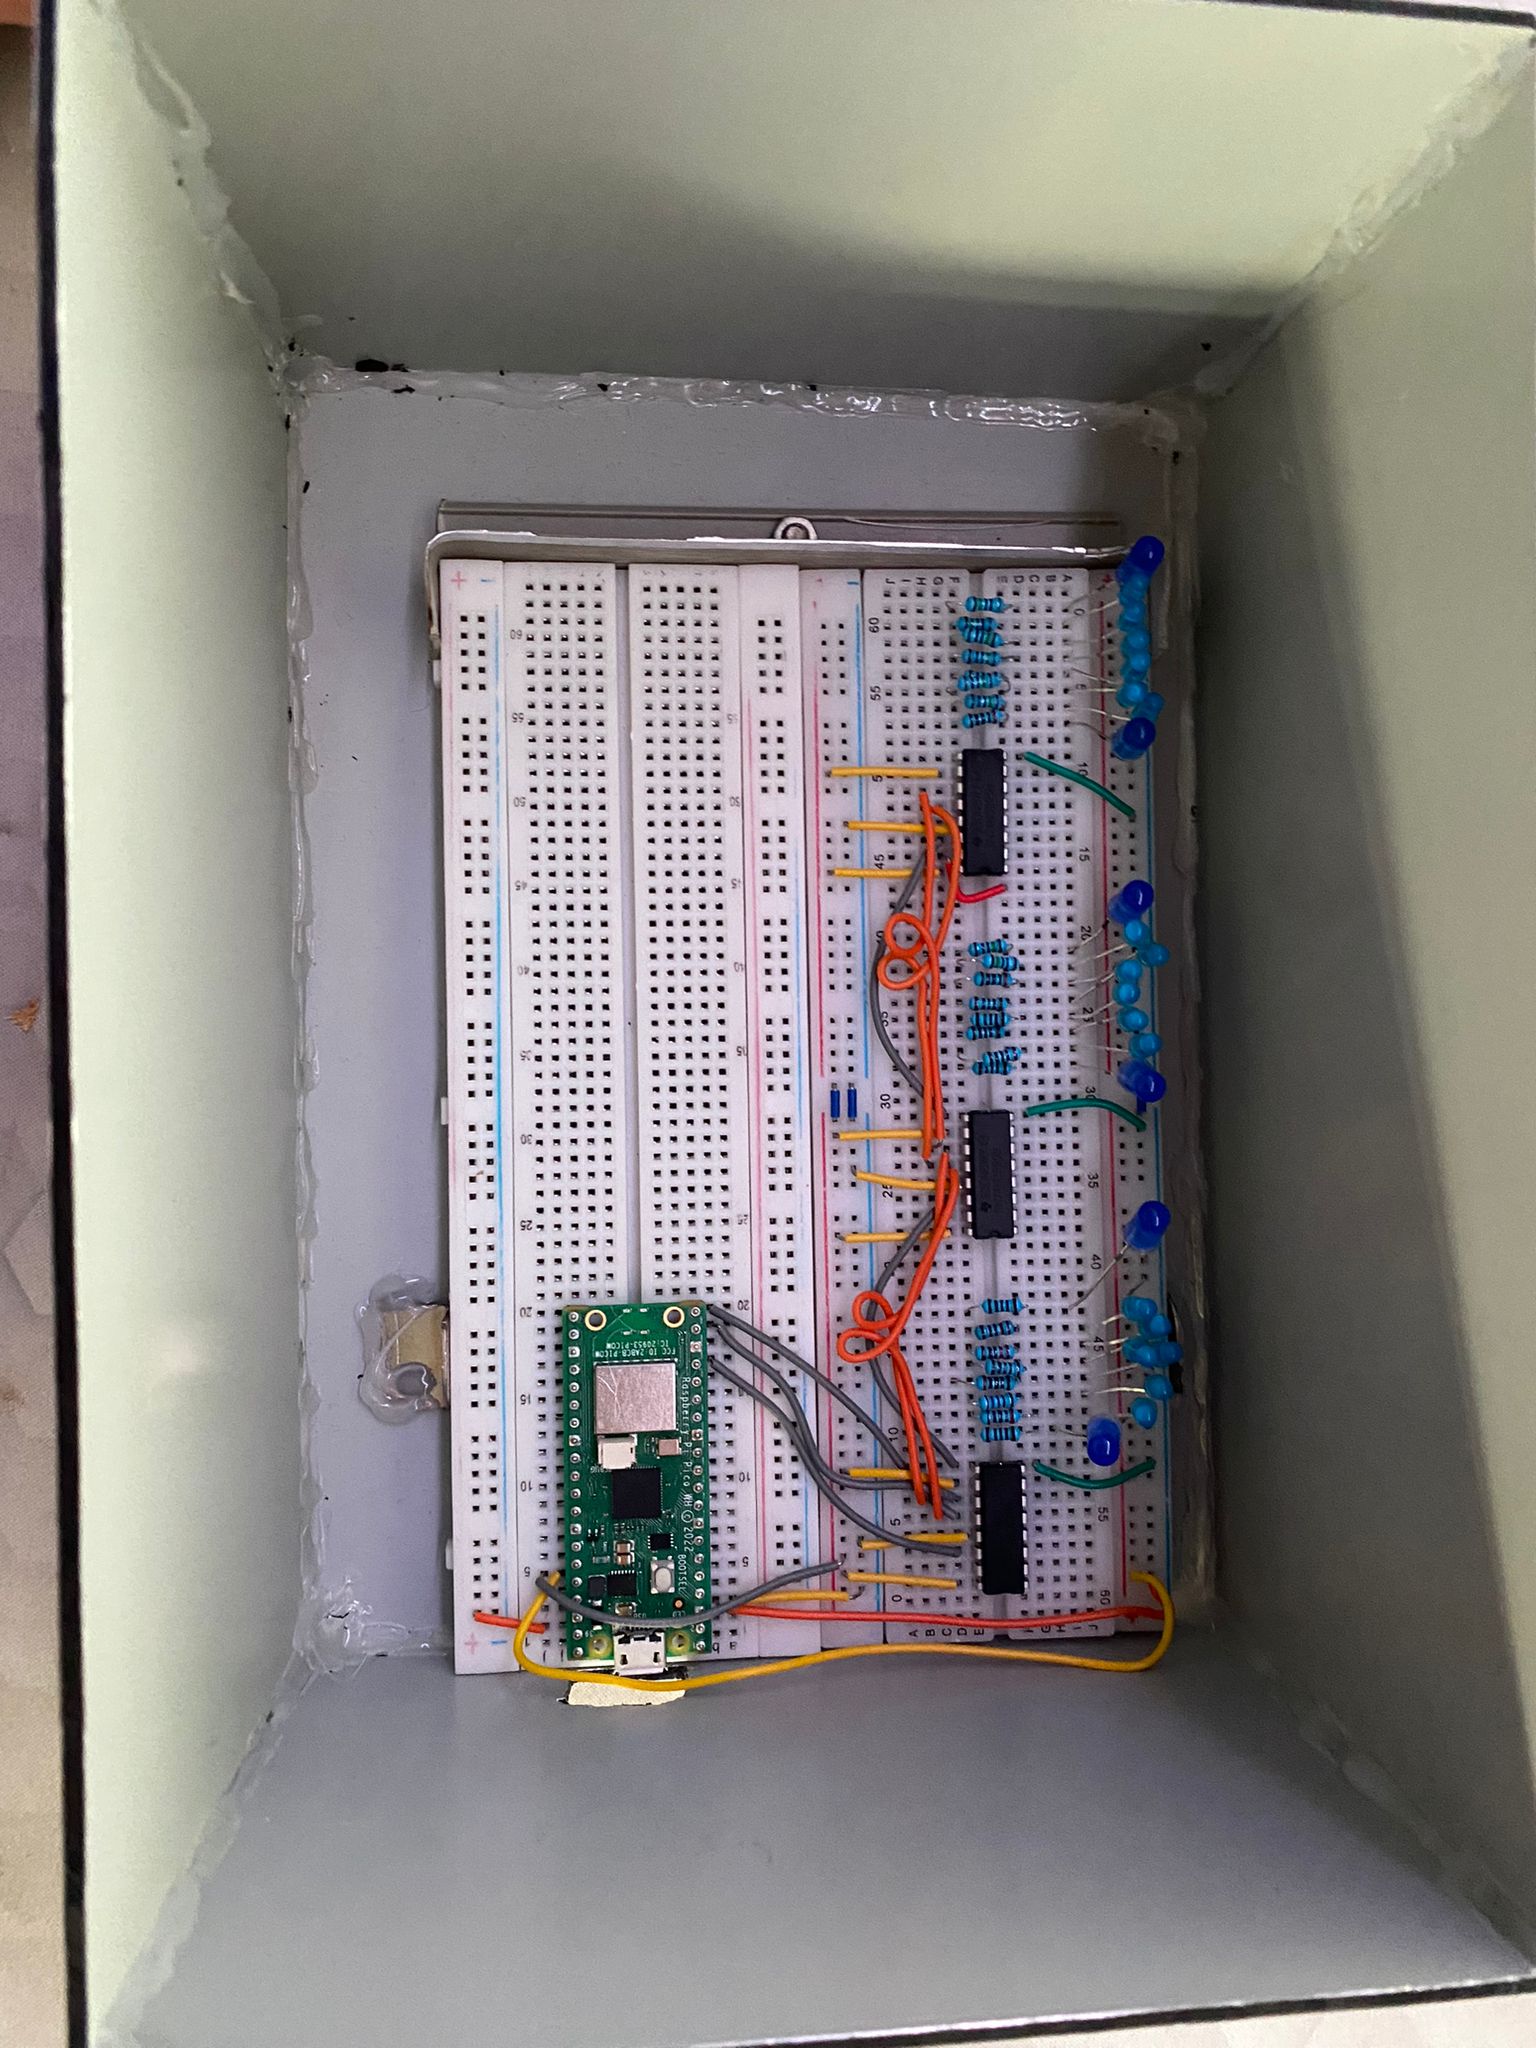
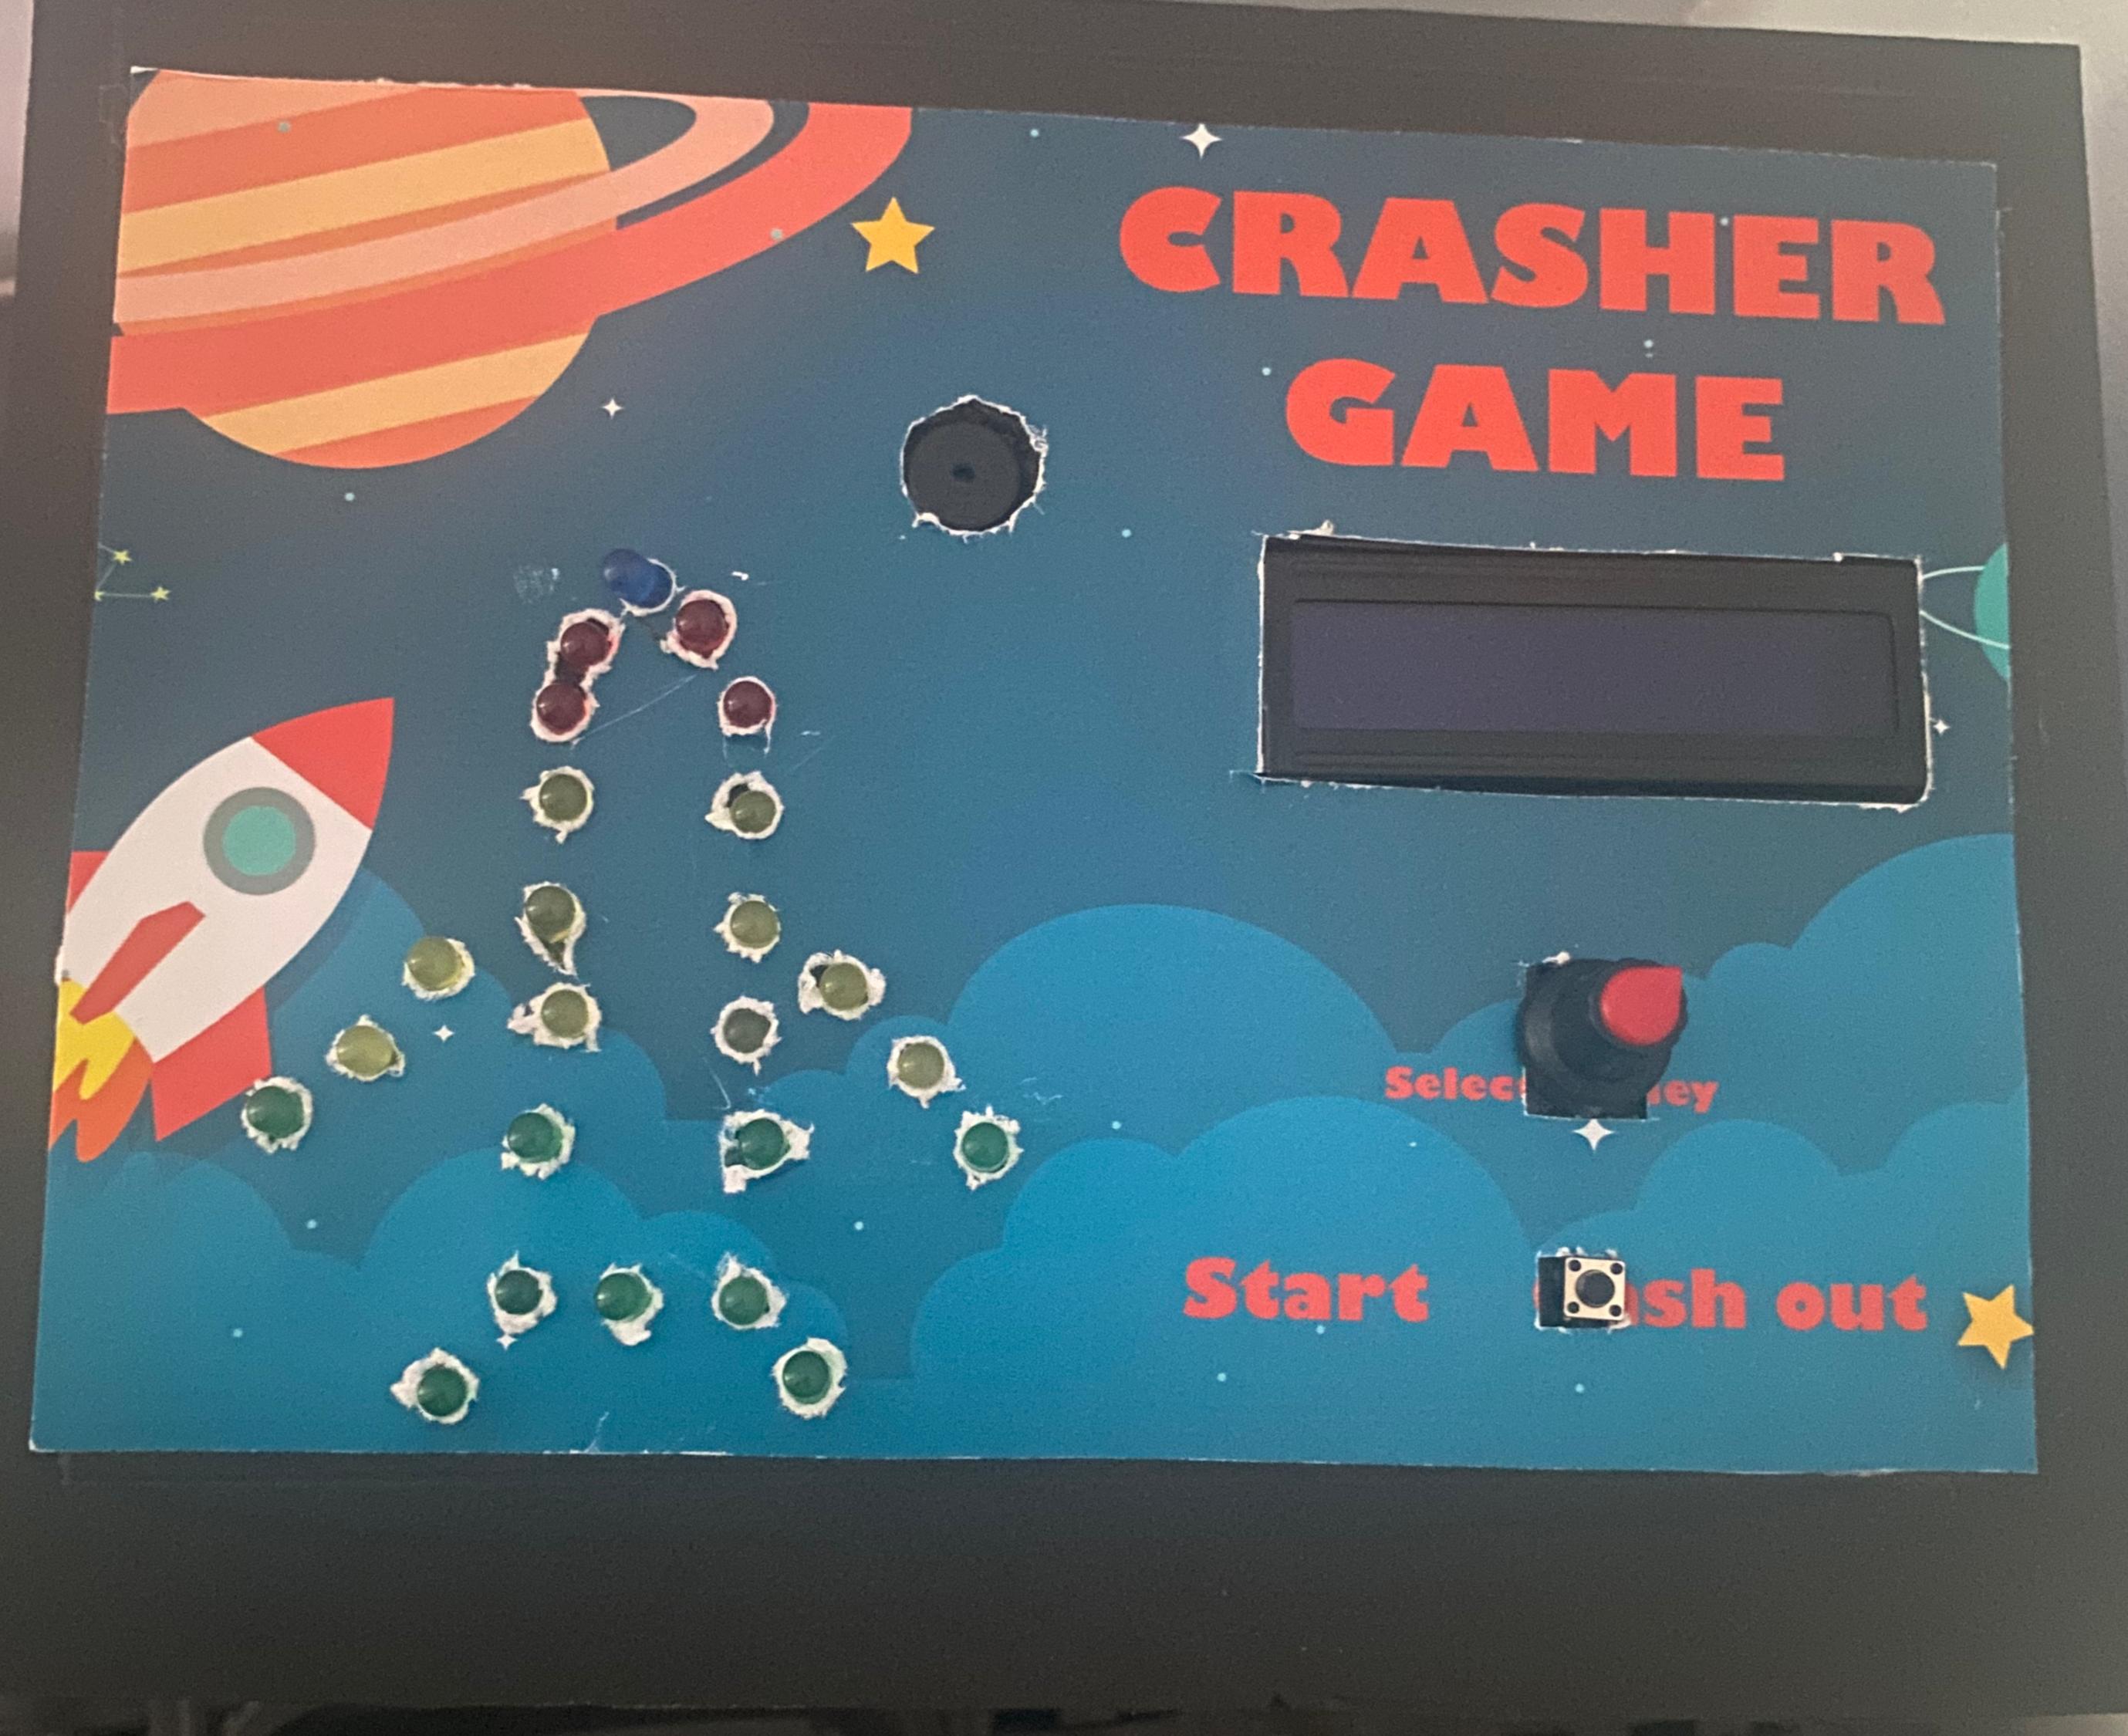
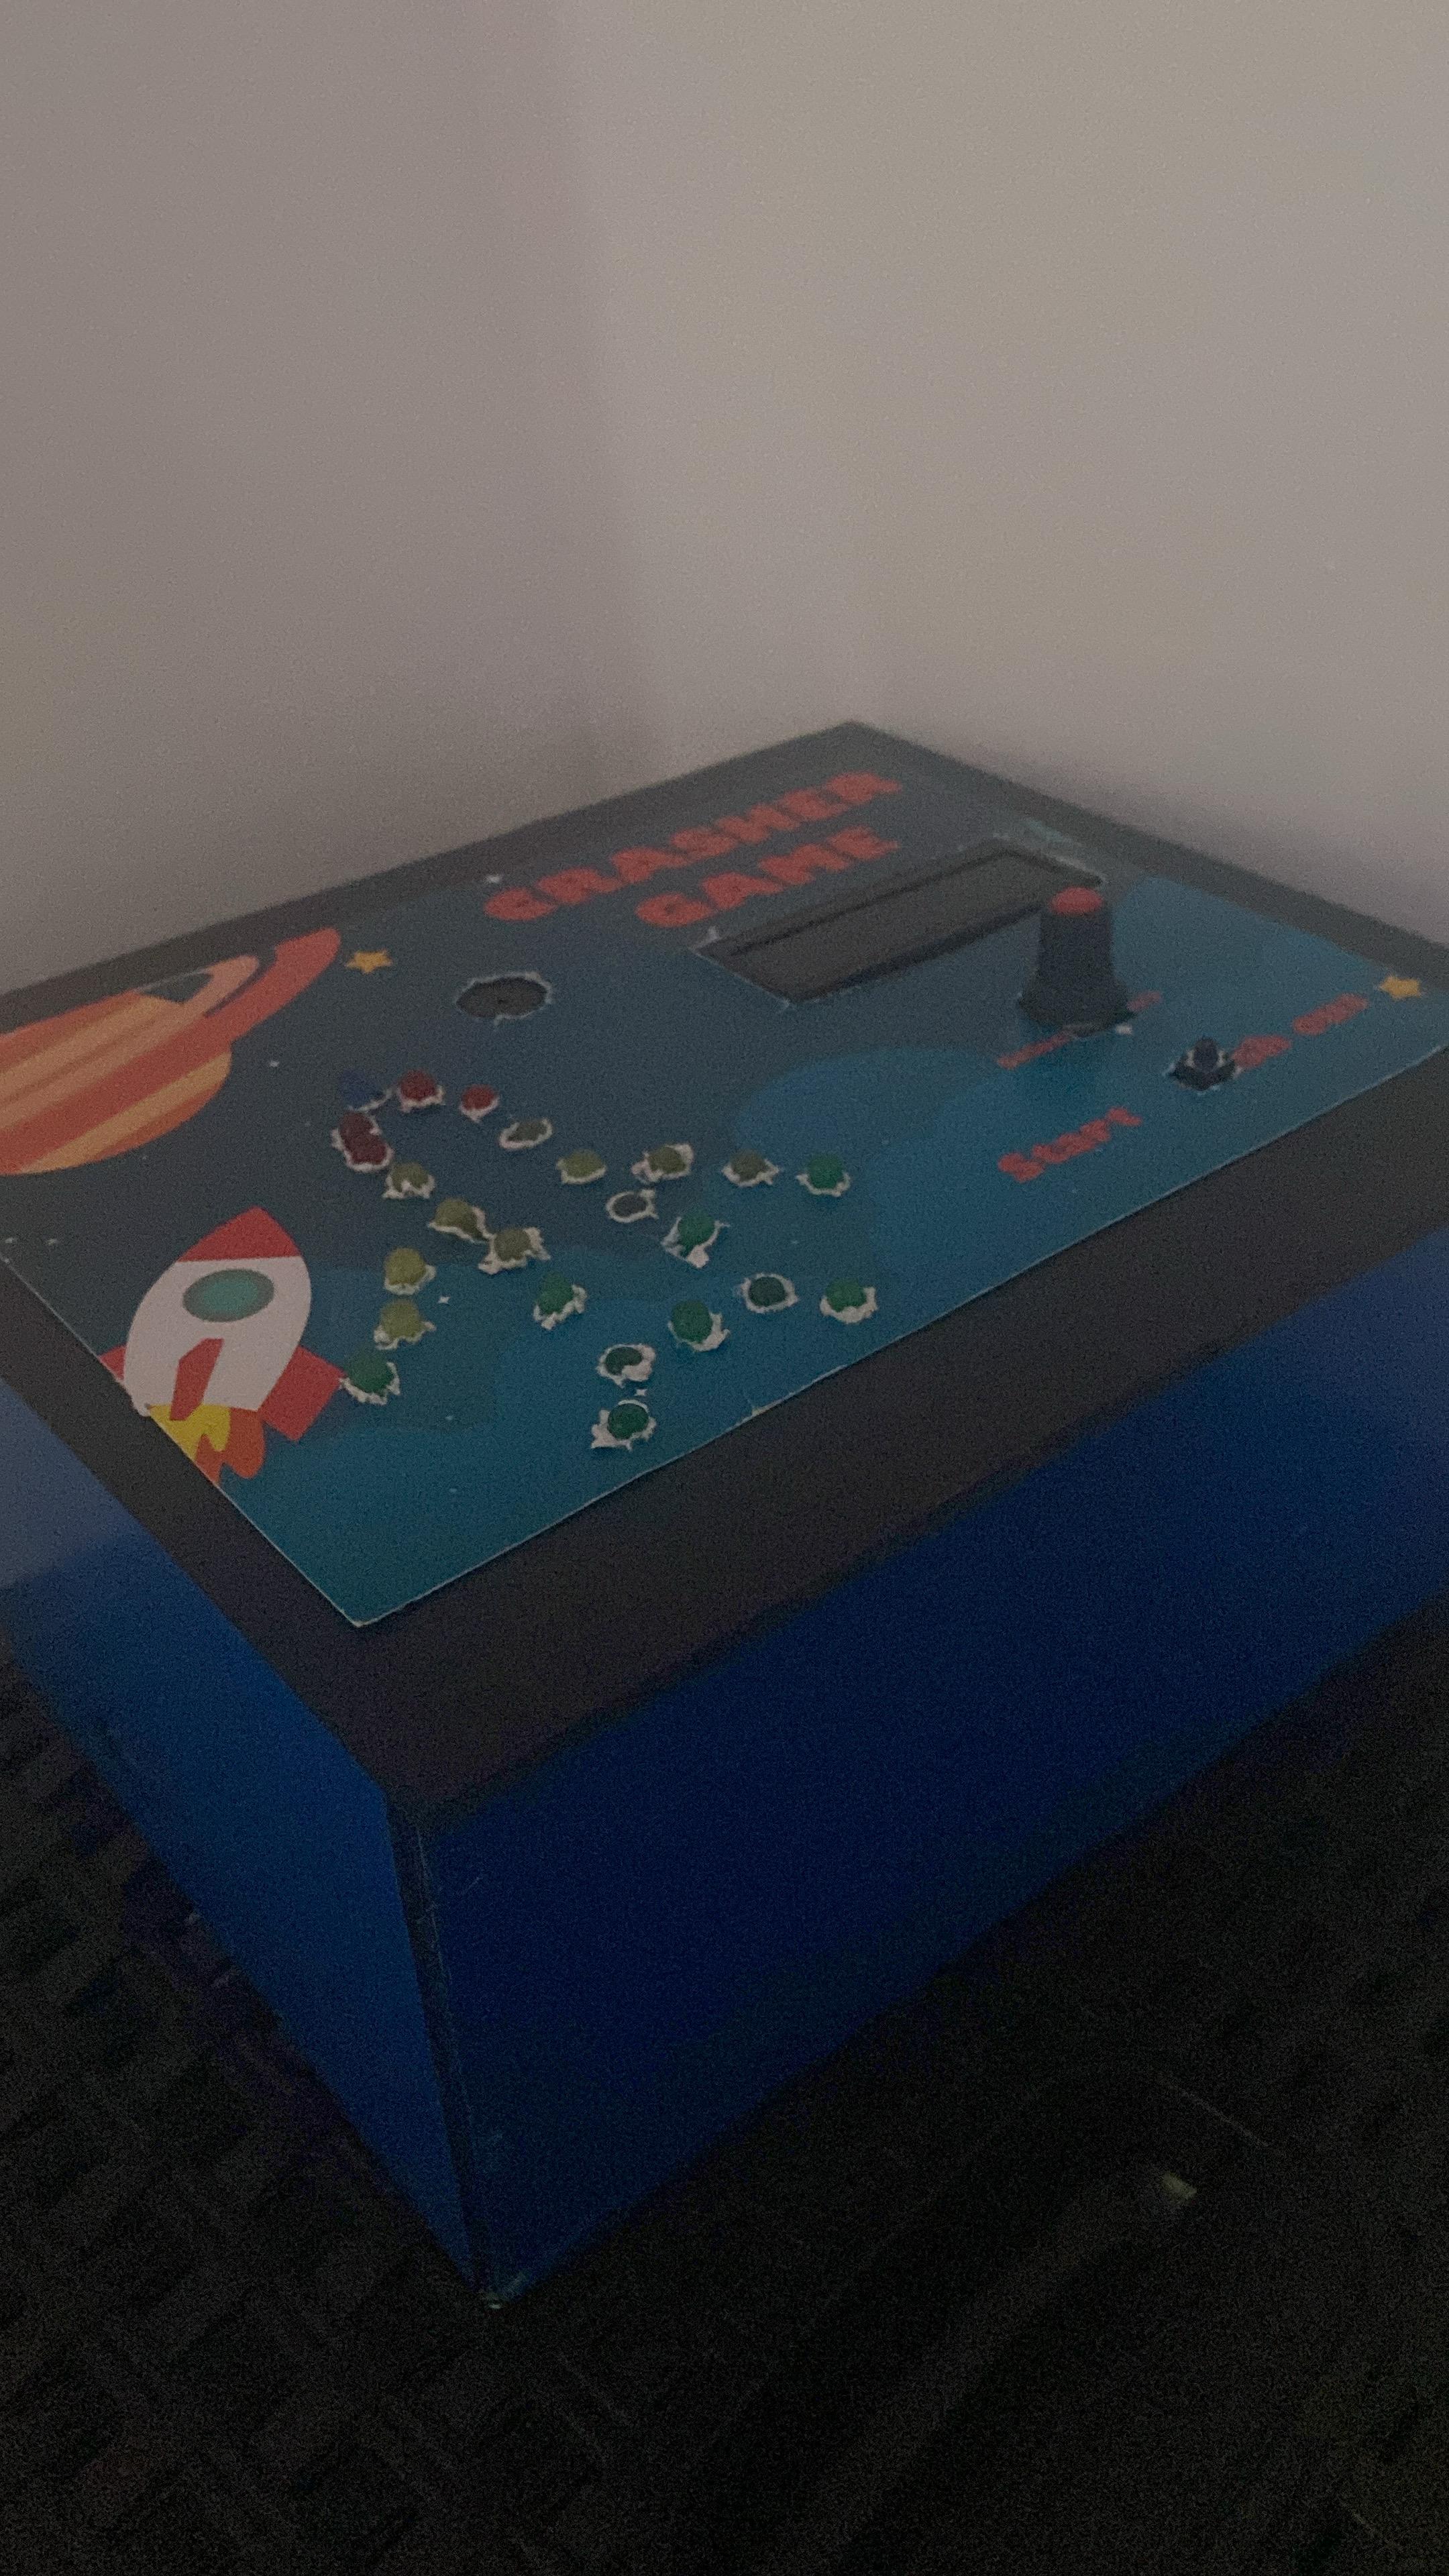
My final project is looking like this:
| Front view | Side view |
|---|---|
 |  |
Demo
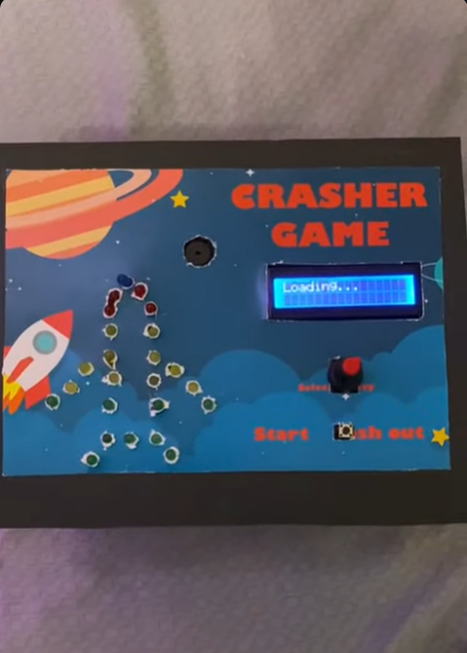
Please click the photo below to see the project in action:
Schematics
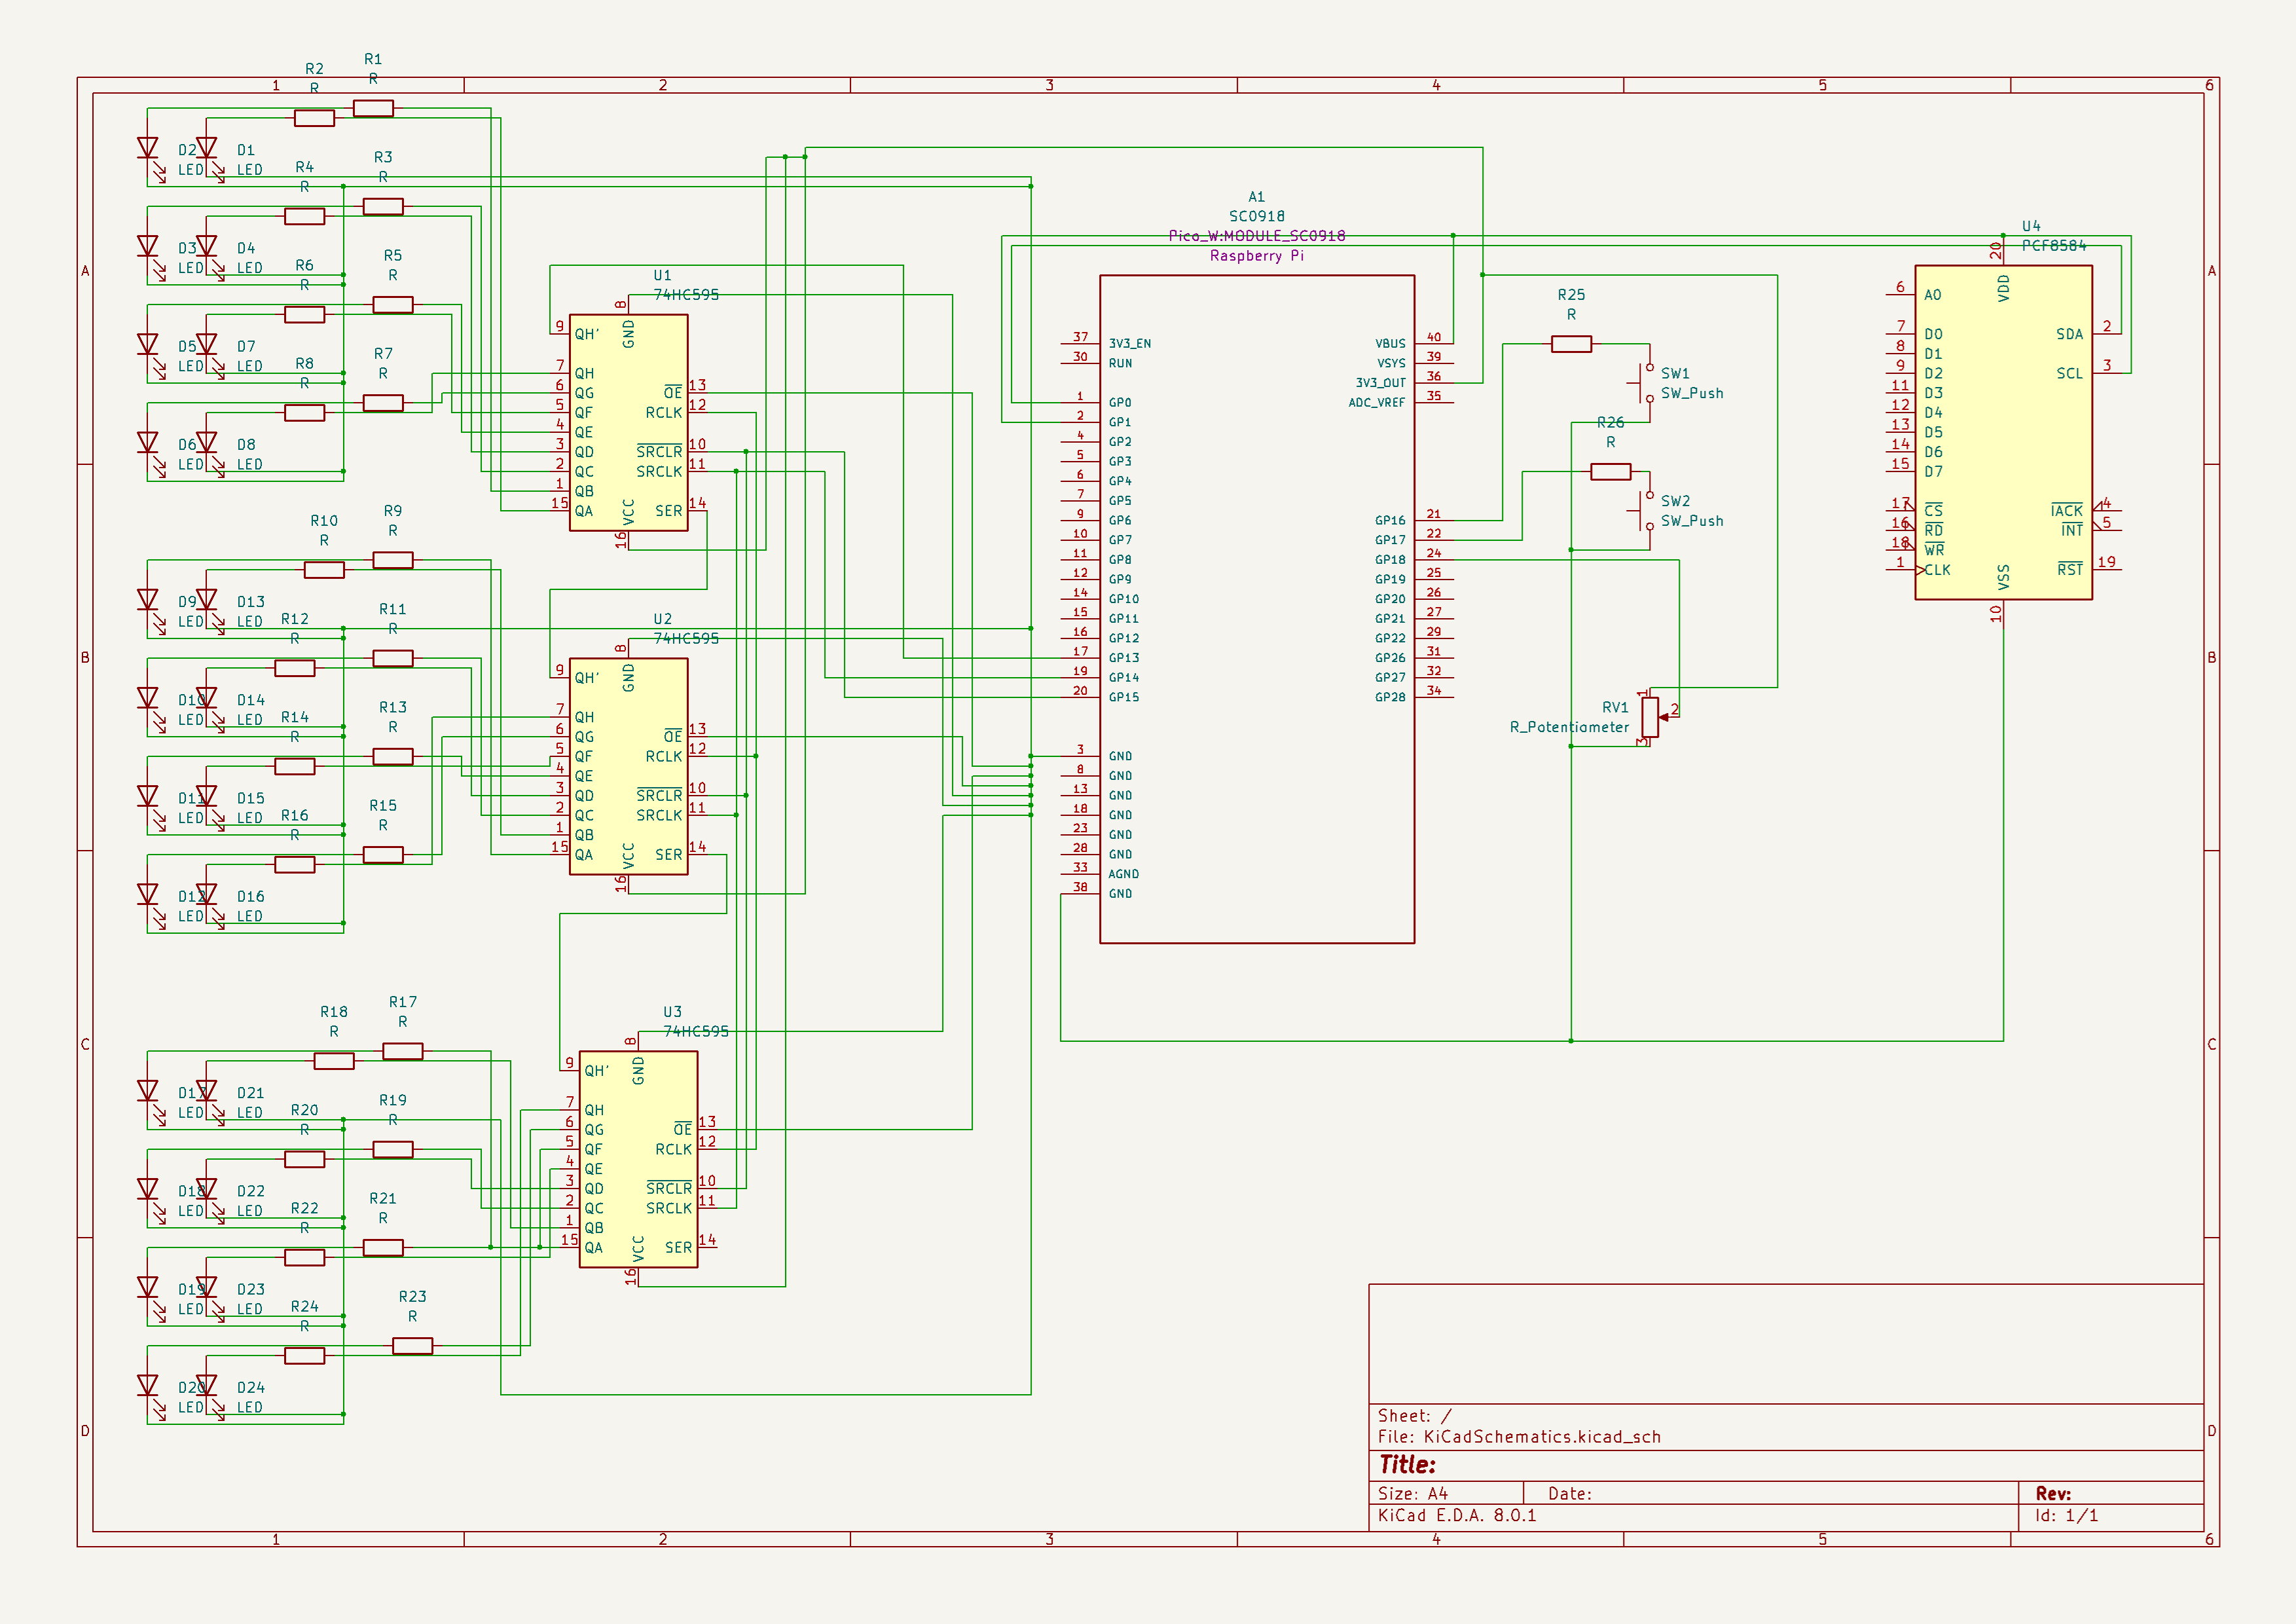
In the center of the schematics there is the Raspberry Pi Pico W. In it's left side, there are 3 shift registers (74HC595) which I use for the 24 leds that will form my airplane shape. In the right side of the Pico W, there is the LCD connection (actually the PCF8574 I2C module that I use to connect the 1602LCD with my Raspberry Pi Pico W), the 2 push buttons and the potentiometer.
Bill of Materials
| Device | Usage | Price |
|---|---|---|
| Raspberry Pi Pico W | Microcontroller Core | 35 Lei |
| LCD 1602 Display (I2C Interface) | Display Output | 25 Lei |
| Breadboard 830 Tie Points MB-102 | Prototype Platform | 10 Lei |
| Set of 200 LEDs (3mm & 5mm) | Visual Indicators | 16 Lei |
| Tactile Push Button | User Input | 6.5 Lei (for 10) |
| 10K ohm Potentiometer | Adjustable Input | 12.85 Lei (for 5) |
| Knobs for Potentiometers | Knob for Adjustment | 10.65 Lei (for 5) |
| Dupont Wires M-F, 20cm | Wire Connection | 6 Lei |
| Dupont Wires M-F, 30cm | Wire Connection | 7 Lei |
| Dupont Wires F-F, 30cm | Wire Connection | 6 Lei |
| Dupont Wires F-F, 20cm | Wire Connection | 6 Lei |
| Dupont Wires M-M, 30cm | Wire Connection | 7 Lei |
| Dupont Wires M-M, 20cm | Wire Connection | 7 Lei |
| 220Ω Resistors | Current Limiting | 9 Lei (for 30) |
| 330Ω Resistors | Current Limiting | 9 Lei (for 30) |
| Male Headers | Connection Points | 7.5 Lei (for 10) |
Total Cost: 159.5 Lei
Software
| Library | Description | Usage |
|---|---|---|
| cortex-m | Low-level access to Cortex-M processors | Provides low-level access and inline assembly support |
| cortex-m-rt | Cortex-M runtime support | Provides runtime support for Cortex-M microcontrollers |
| embassy-embedded-hal | Embedded HAL implementation for Embassy | Provides hardware abstraction layer for Embassy |
| embassy-executor | Async task executor for Embassy | Manages asynchronous task execution |
| embassy-rp | Embassy support for Raspberry Pi RP2040 | Provides RP2040 support for Embassy |
| embassy-usb-logger | USB logging support for Embassy | Enables logging over USB for debugging purposes |
| log | Logging facade for Rust | Provides a logging framework for Rust applications |
| embedded-io-async | Asynchronous I/O traits for embedded systems | Defines async I/O traits for embedded development |
| embassy-time | Timing utilities for Embassy | Provides timing and delay functionalities |
| static_cell | Static allocation utilities | Provides static memory cell utilities, useful for no-std environments |
| heapless | Heapless data structures | Provides data structures that do not require dynamic memory allocation |
| embassy-futures | Async futures for Embassy | Provides utilities for working with async futures in Embassy |
| futures | Asynchronous programming library | Provides async/await support and other async utilities |
| embassy-sync | Synchronization primitives for Embassy | Provides synchronization primitives like mutexes and semaphores |
| embedded-graphics | 2D graphics library | Used for drawing to the display |
| st7789 | Display driver for ST7789 | Used for the display for the Pico Explorer Base |
| display-interface | Generic display interface traits | Provides generic traits for display interfaces |
| byte-slice-cast | Casting between byte slices and arrays | Provides utilities for casting between byte slices and arrays |
| embedded-hal-1 | Hardware abstraction layer for embedded systems | Provides HAL traits for embedded systems |
| embedded-hal-async | Asynchronous hardware abstraction layer | Provides async HAL traits for embedded systems |
| embedded-hal-bus | Bus abstractions for embedded HAL | Provides bus abstractions with async support |
| embassy-usb | USB support for Embassy | Provides USB device support for Embassy |
| micro-rand | Tiny, no-std random number generator | Used to generate when the airplane will crash |
| ag-lcd | LCD driver library | Provides support for LCD displays, including I2C interface |
| port-expander | Port expander driver library | Provides support for port expanders |
| panic-halt | Halting panic handler | Provides a panic handler that halts execution |
| shared-bus | Shared bus manager | Manages shared bus resources |
| no_std_strings | String handling for no-std environments | Provides string handling utilities for no-std environments |
For the software part, everything was pretty straightforward. I used this repository for the LCD display. The flawless functionality of the game is ensured by using asynchronous tasks and custom channels from embassy.