Tic-Tac_Toe
This project aims to emulate the popular game Tic-Tac_Toe on a Rapspberry Pi.
Author: Teodor-Matei FRÂNCU
GitHub Project Link: link_to_github
Description
In this project I will try to recreate simplified version of a game console of the 1990's. The controller for playing the game will be composed of 5 buttons, 4 of which for navigating the game itself (up down left right) and the last for inputting your move. The game will be displayed using a small LCD display that will run using Embedded-graphics, thereby giving the user a simple yet effective interface for playing the game. To emulate the feel of retro games, a buzzer (or more, if need be) will be used to play a simple 8-bit styled theme and specific sounds for inputting moves and losing or winning the game. The game will be played against another player.
Motivation
I've always wanted to delve into game making, and while this may not be much, it's a small step into the world of game making. Tic Tac Toe feels simple enough for someone of my hardware knowledge level to recreate it. Choosing a game as my project also adds a level of difficulty to the journey of creating it, as I have only coded games using html, c++/c# and javascript, a.k.a. only software. This will be the first time any game that I have made has a hardware component to it. And as an added bonus I'm quite passionate about video games and I spend most of my free time playing them, so this project is right up my alley.
Architecture

Main Components
Here is the list of all of the main components and a short description of their utility:
-Controller
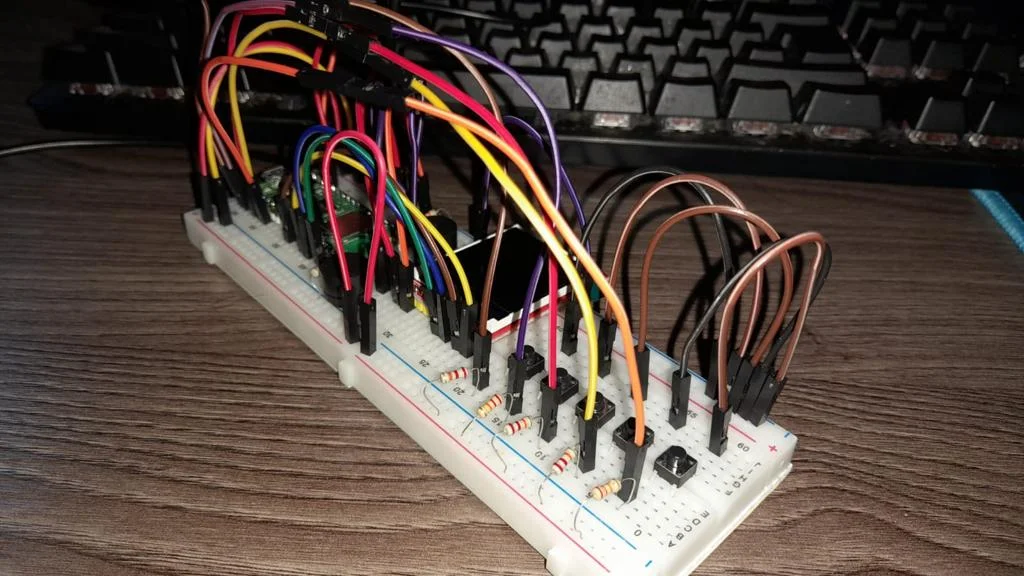
This controller is composed of 5 simple buttons, 4 of them are for inputting directions (up down left and right) and one is for imputting your move (placing down x or 0 on the playing field)
-Microcontroller
The brains of this project, responsible with interpreting the input of the controller and sending the appropriate data to be displayed by the LCD display and to the buzzers.
-Display
Comprised of an lcd display that will present the user the game itself, a 3x3 matrice that both the player and the computer will play on.
-Buzzers
Used to play different sounds according to the users inputs and the state of the game (loss/win/idle)
Connections
-Controller to Microcontroller:
The input of the controller is directly connected to the microcontroller, which interprets these commands and modifies the state of other components accordingly.
-Microcontroller to Display:
The microcontroller sends data to be displayed on the LCD display, which in turn displays the instructions that it receives from the microcontroller.
-Microcontroller to Buzzers:
The microcontroller, depending on what is happening in game, will tell the buzzers to either play the game theme, a song for when the player loses and one for when they win. Additionally, on player input, a small chime will be played.
Log
Week 6 - 12 May
-In this week I have written the Index.md and created a rough sketch of the project itself using paint.
Week 7 - 19 May
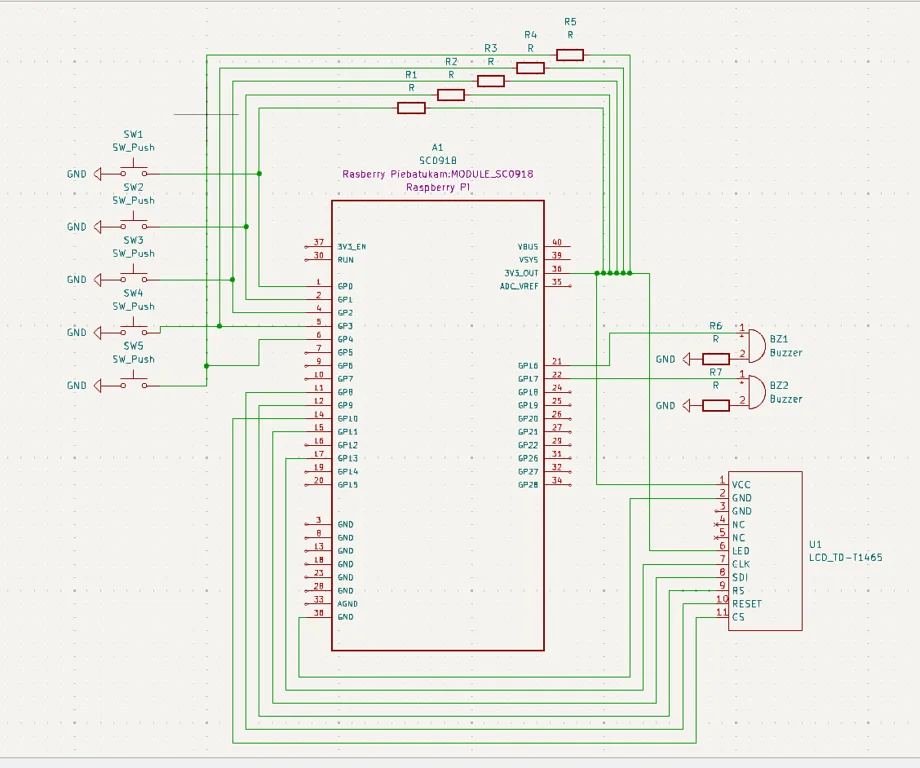
-In this week I have finished the hardware part of the project, connecting every component between itself and tested it. Furthermore, I created the Kicad Schematic for the project itself and the LCD display.
Week 20 - 26 May
Hardware
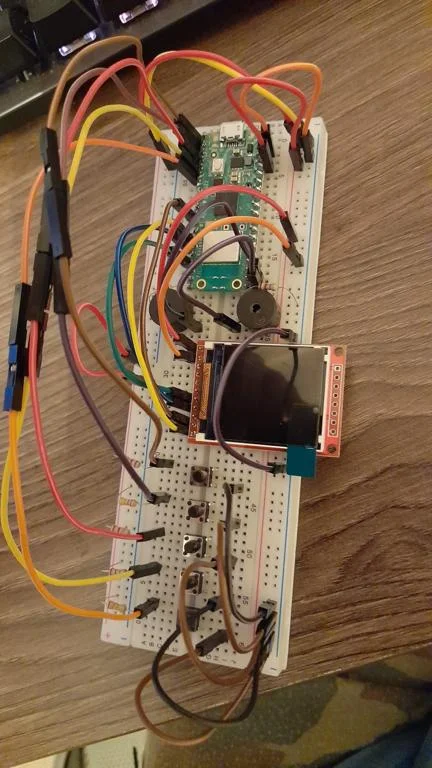
At the moment, this is how my project looks like right now. Keep in mind that this version is meant to be used as a testing grounds for the software program. As we approach the day of the final product, for example, the buttons and lcd display will be moved onto a smalled bredboard, to allow for an easier way of pressing them, without having to jam your fingers in between wires. Furthermore, I will design a small case for the bredboard which will resemble a game console.
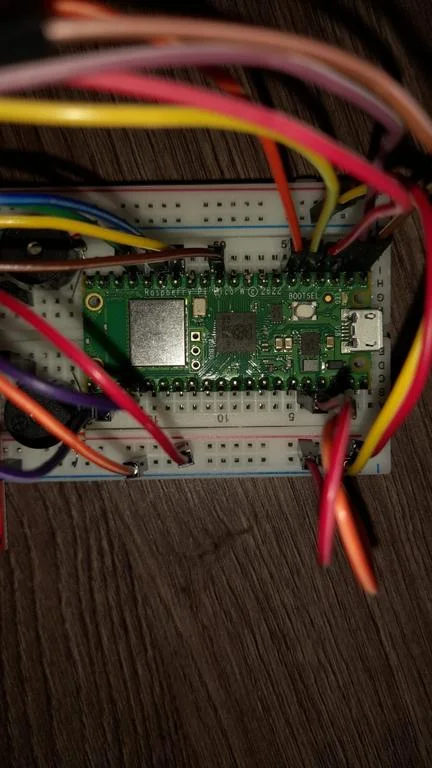
These are the connections of the microcontroller:
These are the buttons, which are connected using pull-up resistors:
This is how the lcd diplay is connected to the microcontroller:
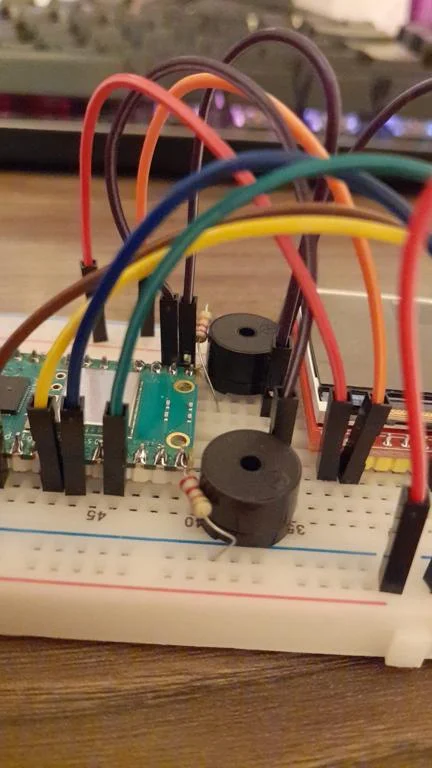
These are the buzzers of the project:
Schematics
Bill of Materials
| Device | Usage | Price |
|---|---|---|
| Rapspberry Pi Pico W | The microcontroller | 35 RON |
| Display | Displays the game | 30 RON |
| Bredboard | Connecting the components | 10 RON |
| Wires | Connecting the components | 7 RON |
| Resistances | Needed in order to not damage the components | 5 RON |
| 5 Buttons | For controlling the game | 2 RON |
| 2/3 Buzzers | Playing music | 4 or 6 RON |
Software
| Library | Description | Usage |
|---|---|---|
| st7789 | Display driver for ST7789 | Used for the display for the Pico Explorer Base |
| embedded-graphics | 2D graphics library | Used for drawing to the display |
| embassy_rs | Embassy framework for embedded systems | Used for its many useful and versatile libraries |